Originally published in NSR #100 March/ April 2017.

Kato Unitrack is probably the best way for most of us to start in the hobby. It has the easiest positive contact and it can “protect” a tight curve better than flex track. The advantage of flex track is sweeping curves with realistic transitions (varying radii).
Most track is oversize and starts out looking toy-like. To improve its appearance, an easy way is to spray the track with rail brown or flat black paint. Then ballast and weather the track. Kato Unitrack is trickier to ballast than flex-track such as Atlas. The track above is Unitrack. Stay tuned for more simple steps on ballasting.
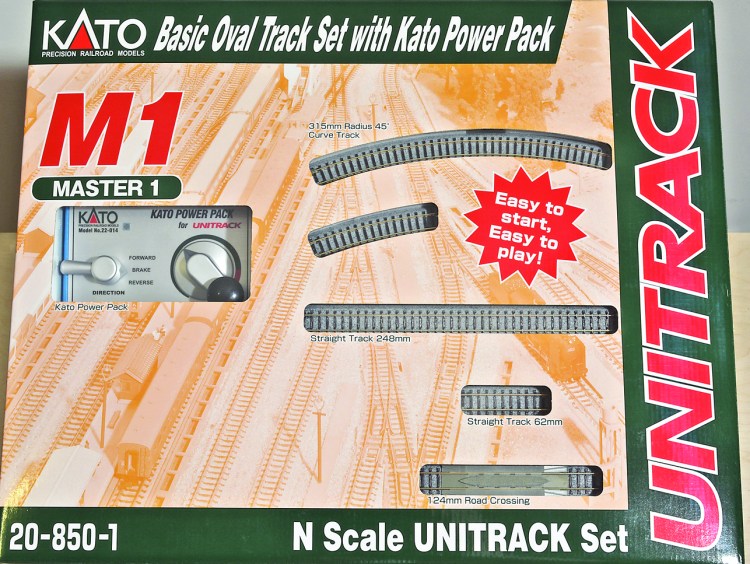
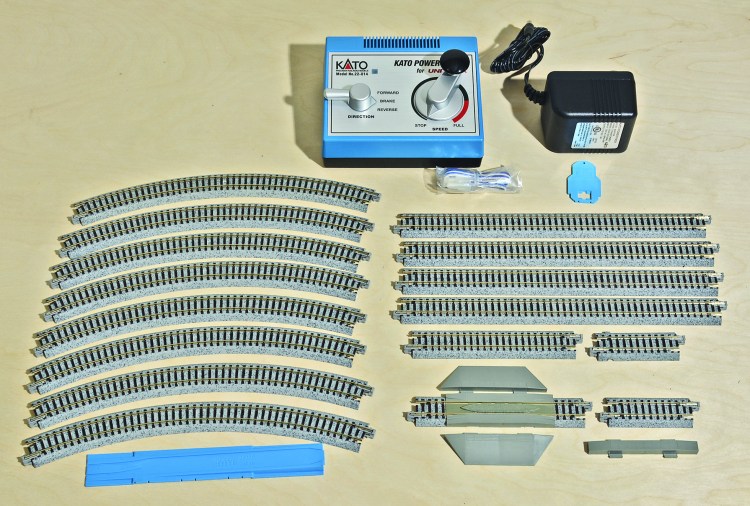
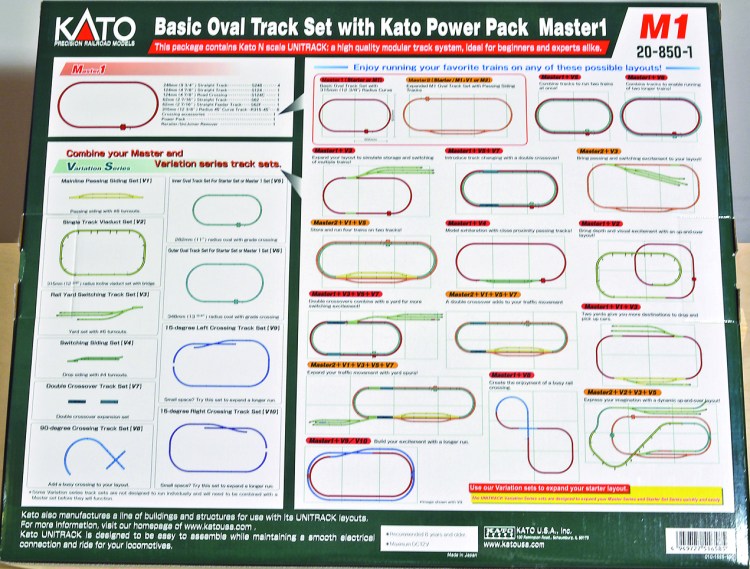
There are a lot of “correct” ways to start enjoying the hobby. Using Kato Unitrack is one of the easiest ways to have success. Kato’s starter set is the M1. It contains eight pieces of approximately 12 3/8 in. (315 mm) radius curve sections (enough for a full circle), and enough straight pieces (also called “tangent” track) to make a small oval. Note the track is molded to its roadbed, making it easy to use even on some carpet surfaces.
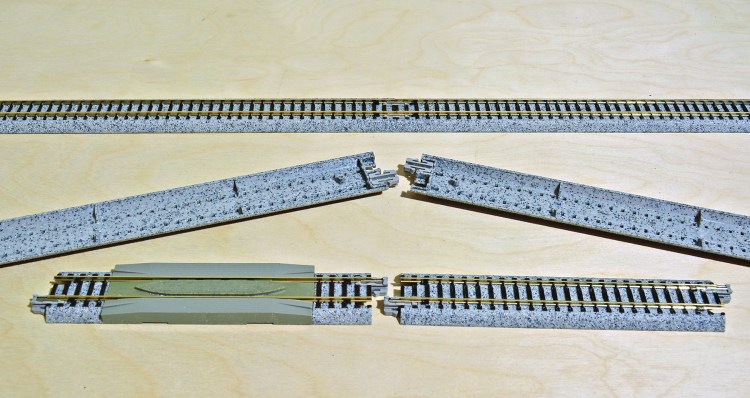
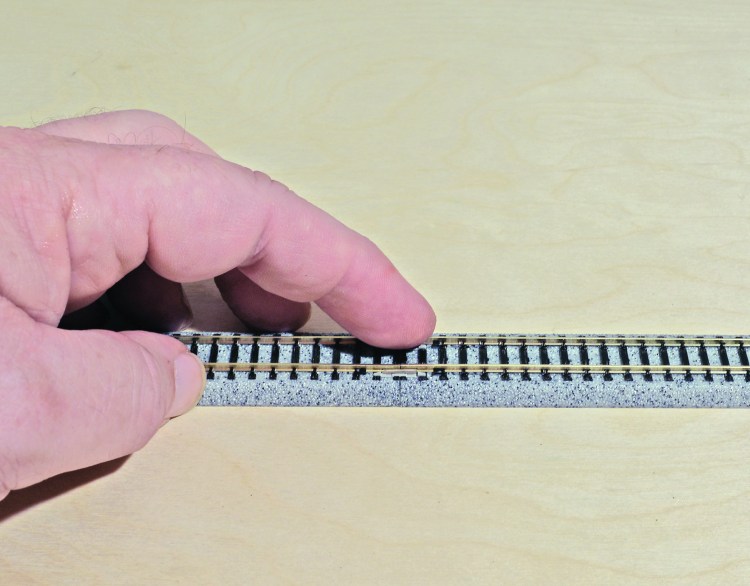
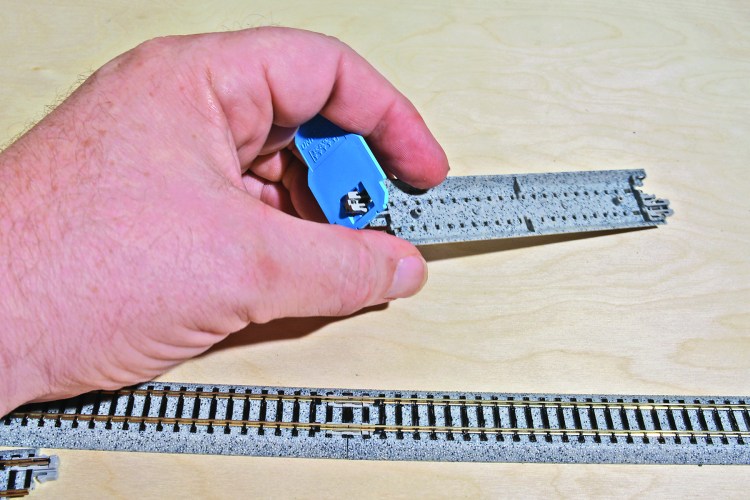
Kato’s Uni-Joiners give a very positive lock on the track and roadbed, so a locomotive won’t separate temporarily assembled track, which can happen with normal rail joiners. They can be attached head-on, but it can be easier to connect them at an angle. Make sure the bottom of the rail is inserted into the metal joiner inside the Uni-Joiners assembly. After a visual check, run your finger gently on the top of the rails to make sure they are aligned vertically. Another advantage of Unitrack is that should the Uni-Joiners go bad, they can be easily replaced. The M1 set contains a plastic tool that helps in removing them from the track. I usually find it easier to gently twist the end with a needle nose or other pliers. I have a lot of older, used Unitrack, and early on I decided to replace the older Uni-Joiners that have bronze rail joiners with the newer silver ones that Kato has available
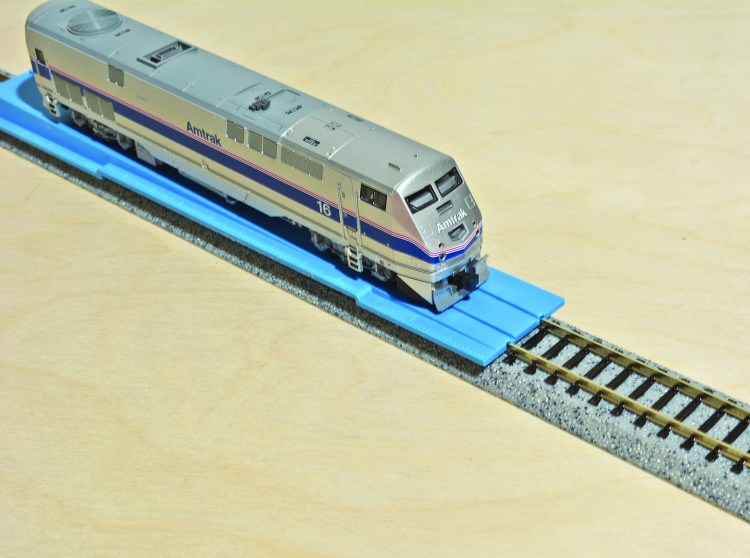
The M1 set also contains a re-railing tool. This tool is quite handy for placing locomotives and rolling stock on the track. This is especially handy for cars equipped with body-mounted couplers. It’s also handy for those of us with less-than-perfect eye sight.
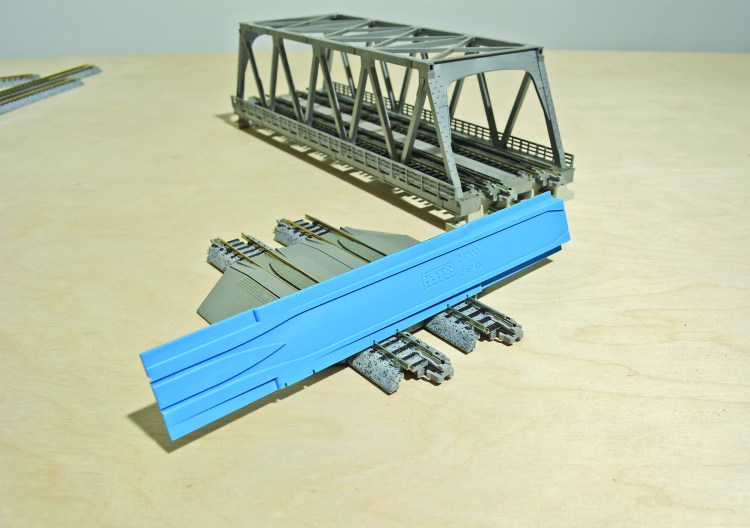
The Kato re-railing tool has notches to line up track to 33 mm centers. This is incredibly handy for Unitrack users and I started using this feature on stretches of Atlas-type flex-track as well. Kato’s double-track pieces like their double-track bridge are spaced at 33 mm.
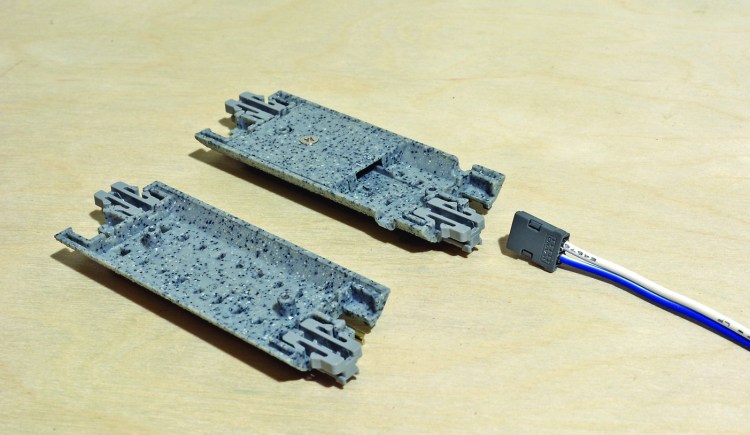
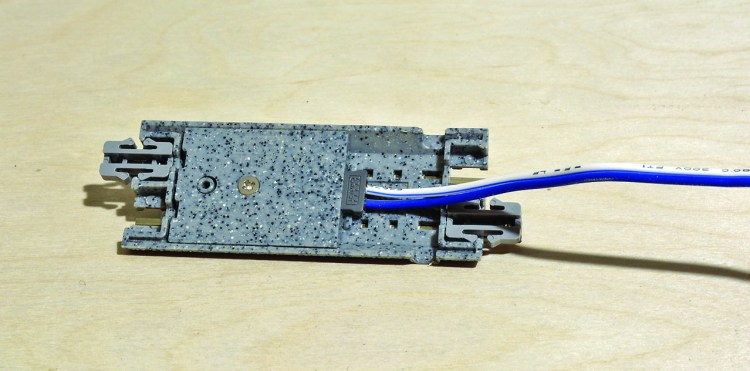
Powering track is easy with Kato’s track leads. The M1 has one feed track with snap-in wires to join the feeder track to the power pack. It simply plugs into the power pack as seen below.
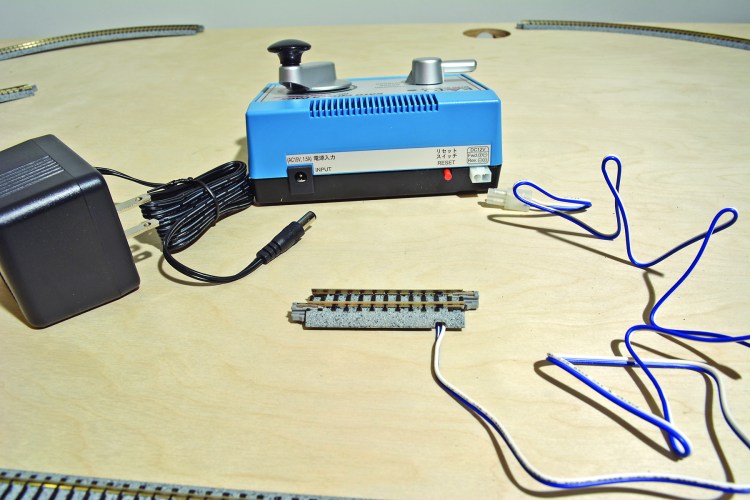
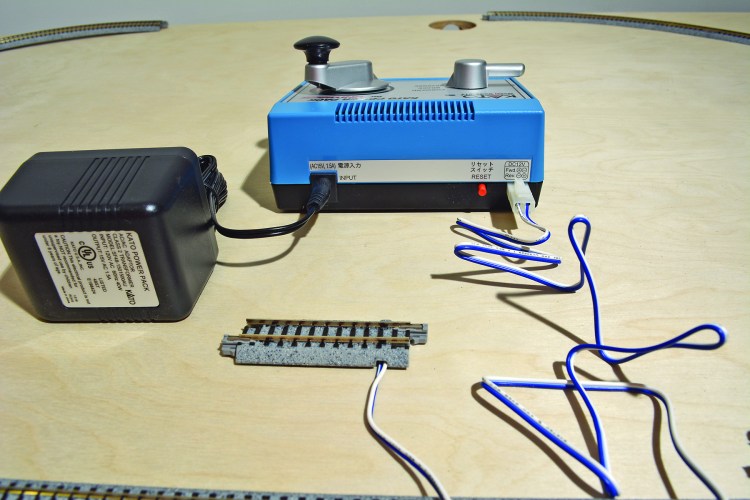
The M1 set includes a power pack and transformer that goes between the 110 volt outlet and the pack. The red button is a fuse. The set up is plug and play, no tools required.
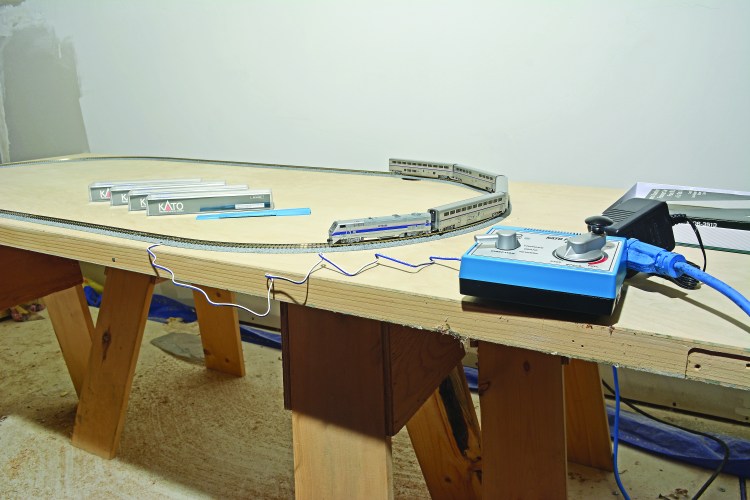
I placed the track and trains on a 28″ x 58″ hollow door, plugged everything in, and ran an Amtrak Superliner set. The second time you set this up, it should take about four minutes. Many of today’s N scale locomotives run better than the best H0 ones from the 1950s to 1990s. A great start, but stay tuned, there is so much more you can do!